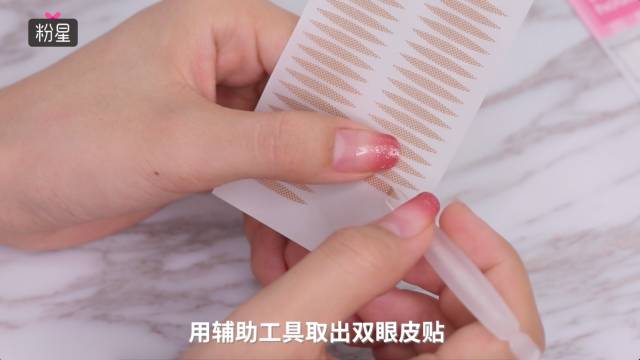
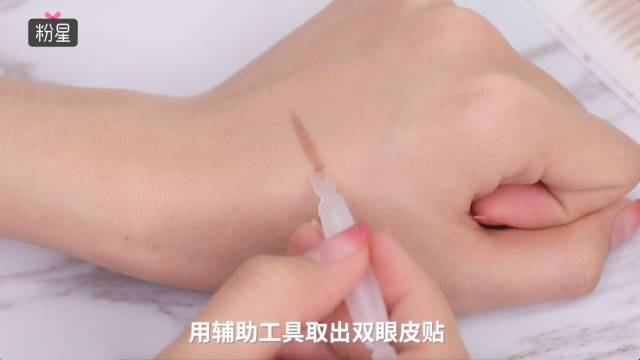
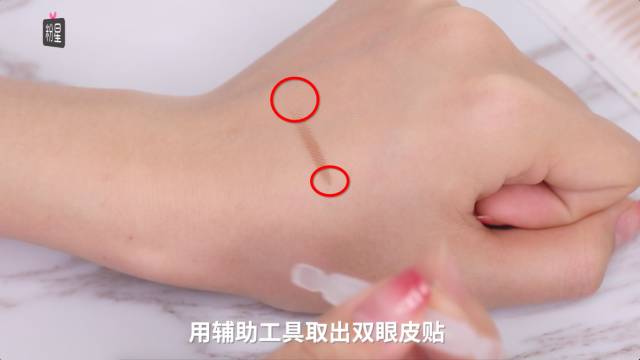
用輔助工具的扁頭取出雙眼皮貼,這樣可以避免指甲摳出來導致雙眼皮貼翹起啦~


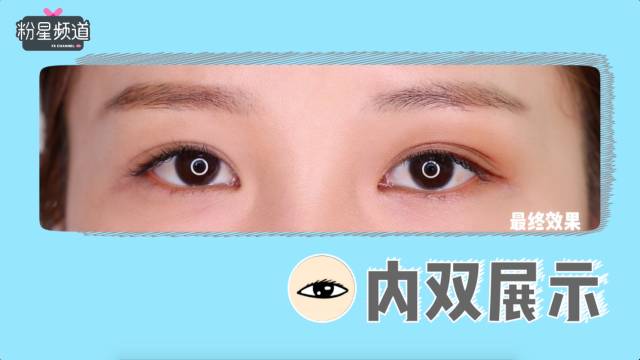
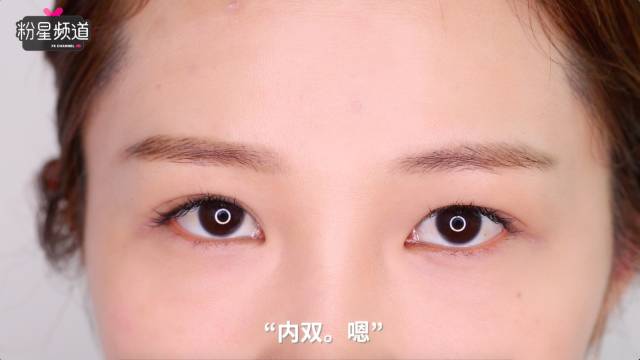
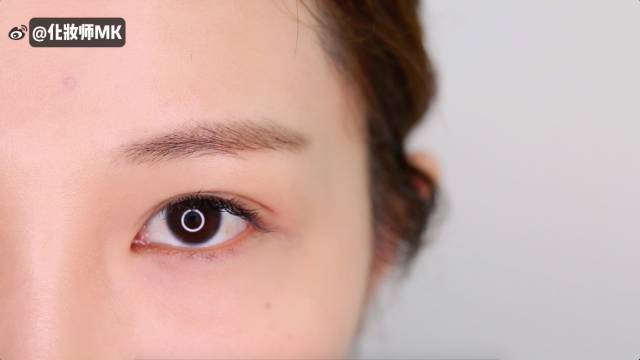
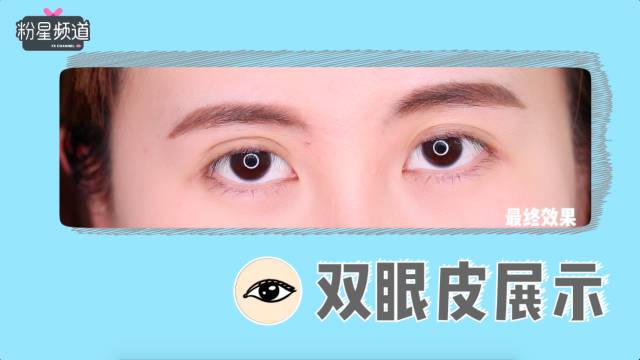
眼型: 一外雙一內雙
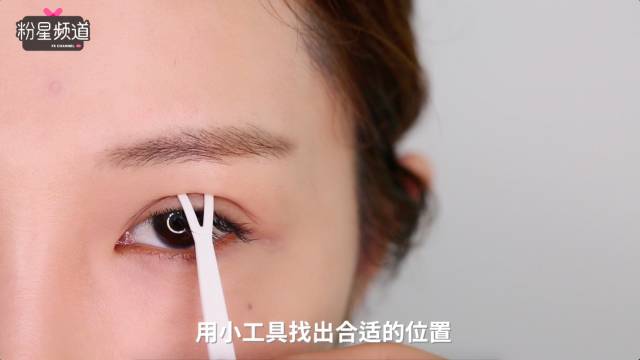
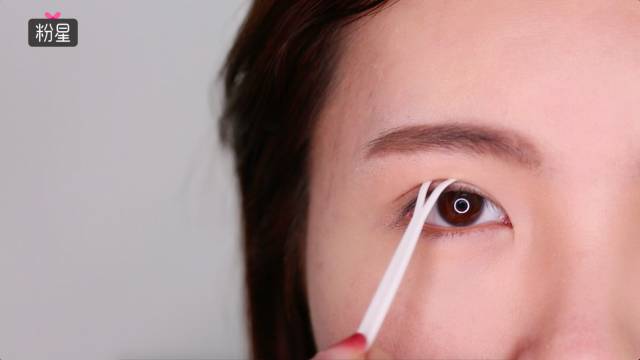
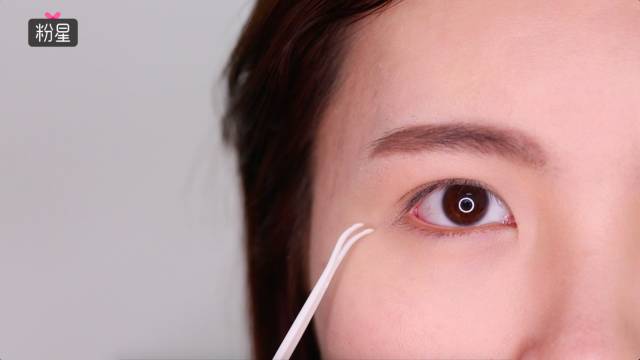
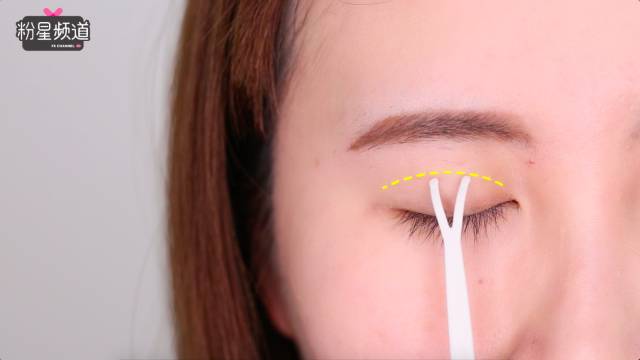
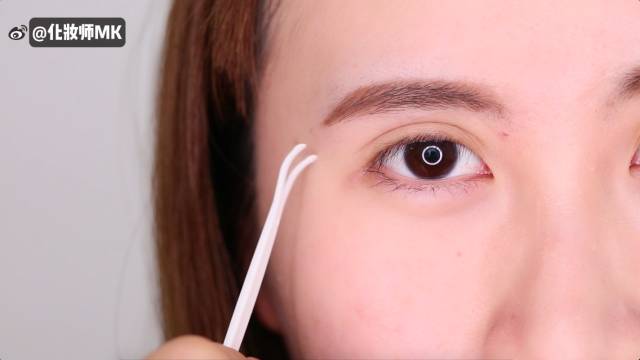
閉上眼睛,用小叉子找出合適的位置。位置一般是原本褶皺上2-3mm左右(PS:小叉子是公司找出來的,很多妹紙只要買過雙眼皮貼都有這個吧~用Pinkhouse自帶那個也可以,一字夾也可以😂)
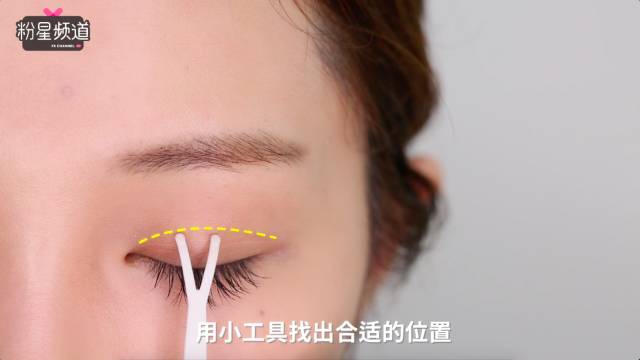
睜眼眼睛,看看位置是否合適。

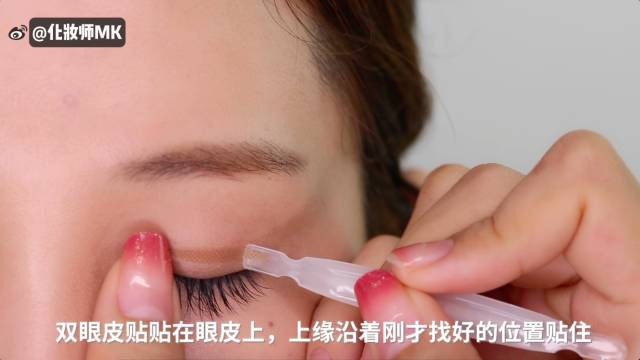
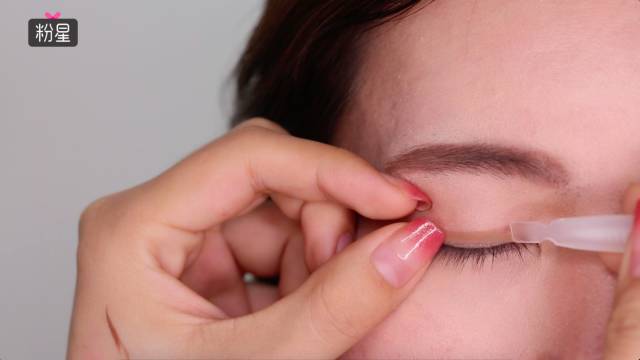
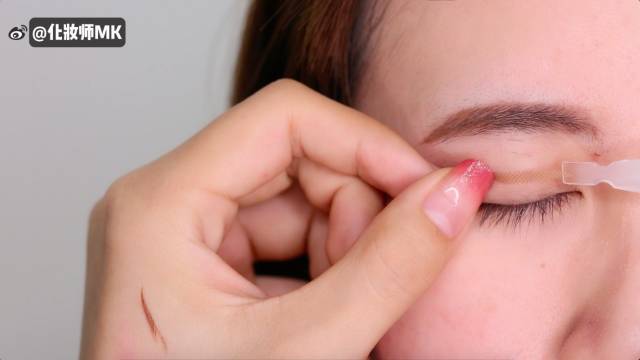
把雙眼皮貼貼在剛才小叉子戳出的位置,上緣要沿著剛才戳出的折痕位置。
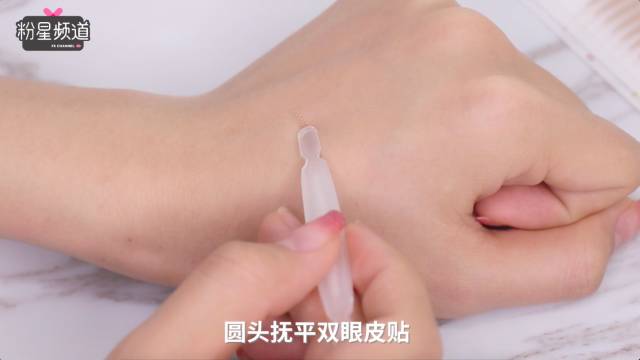
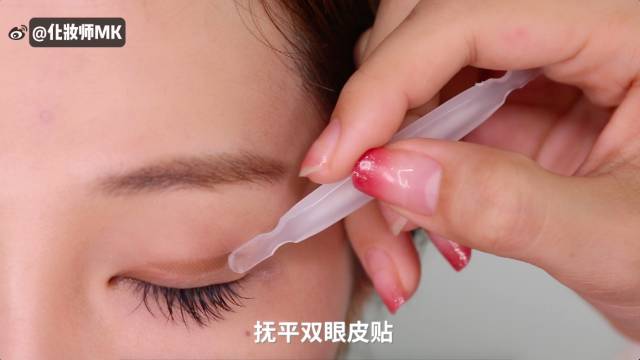
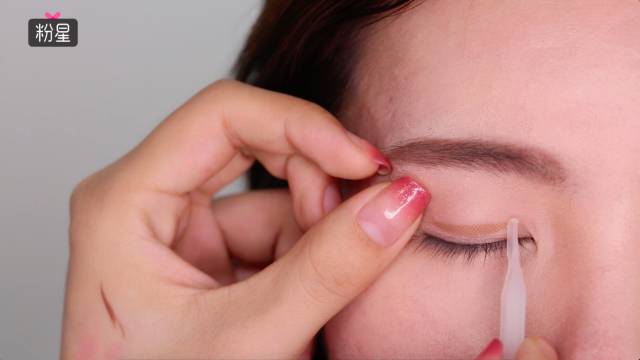
用圓頭撫平雙眼皮貼。
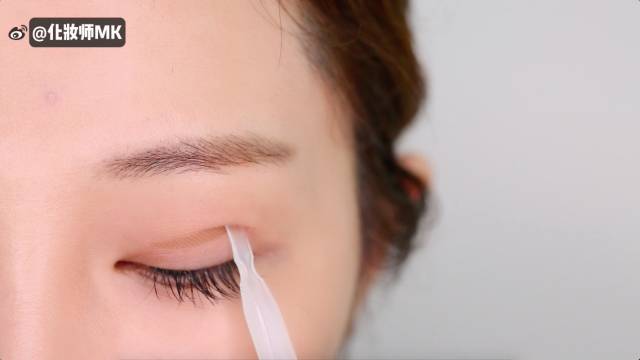
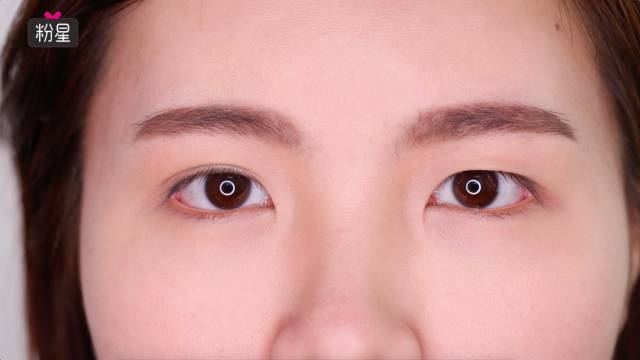
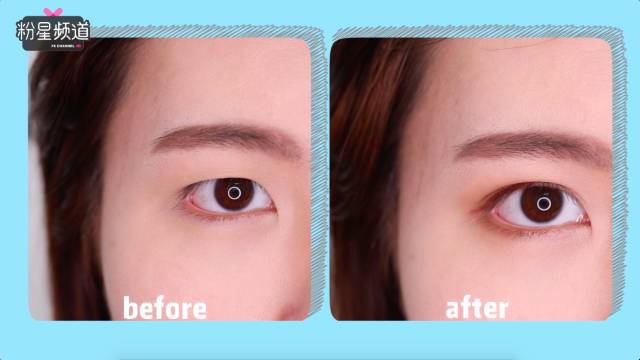
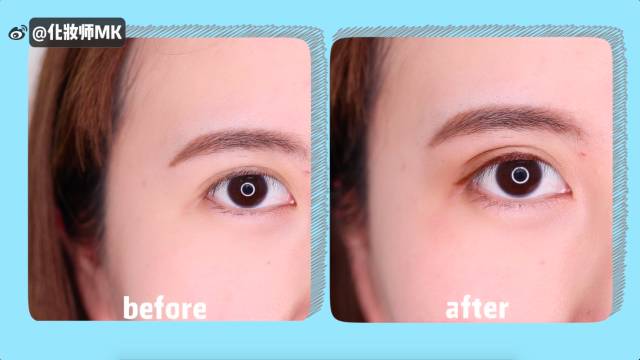
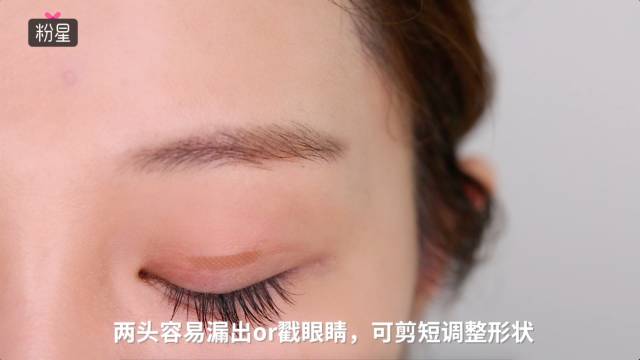
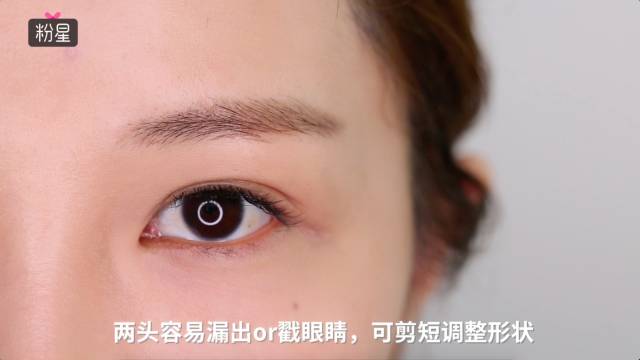
睜開眼睛,貼好啦~位置也選的不錯。
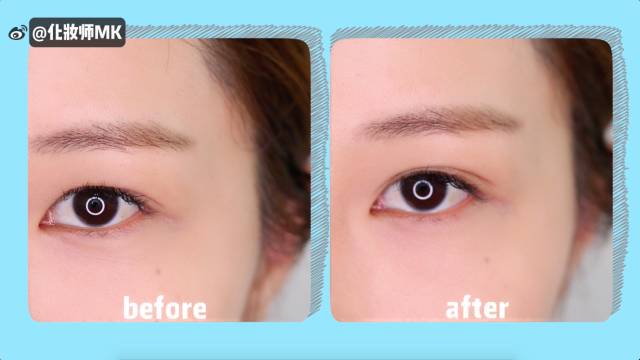
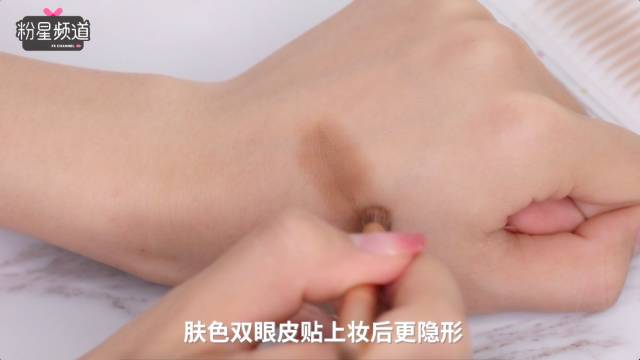
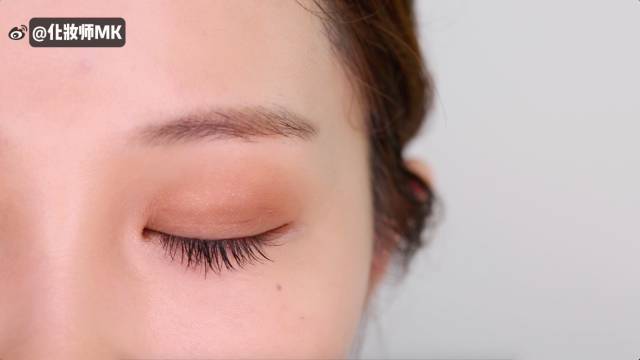
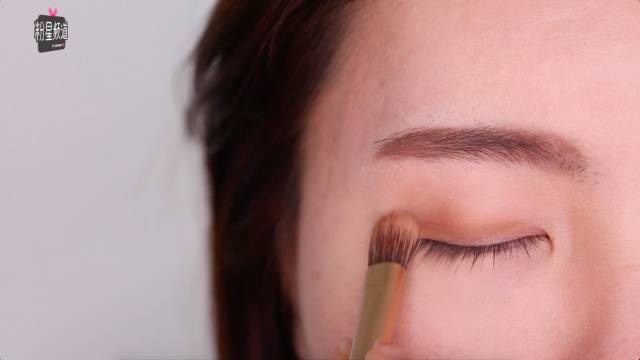
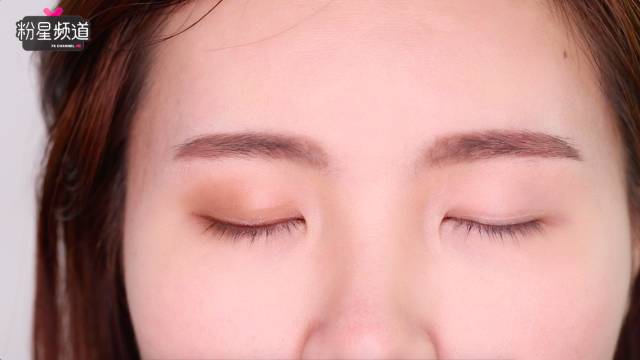
上妝看看,用大地色的眼影上在眼皮上。

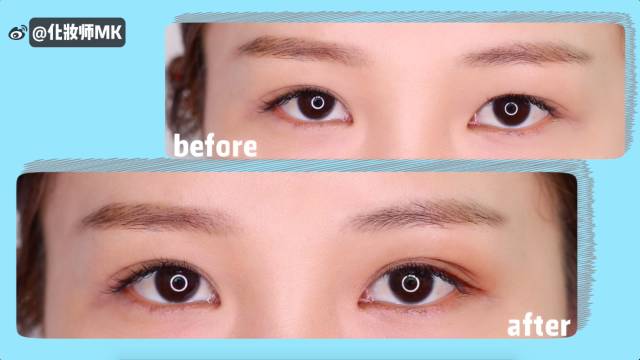
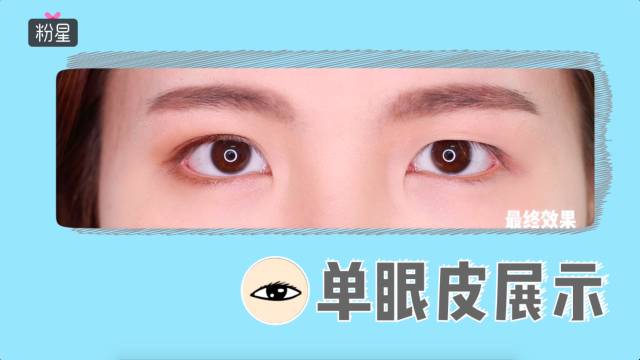
眼型: 薄單
step1
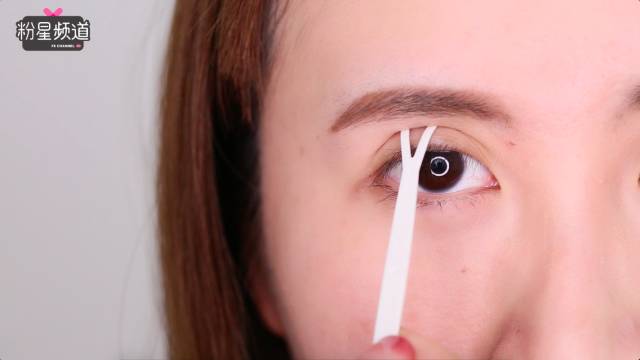
用小叉子找出合適的位置。單眼皮妹紙找位置需要耐心😂,我原本想叉高一點的,發現不行,貼了雙眼皮貼會“浮”在外面。所以找了個比較自然能看到一點點雙眼皮的位置。
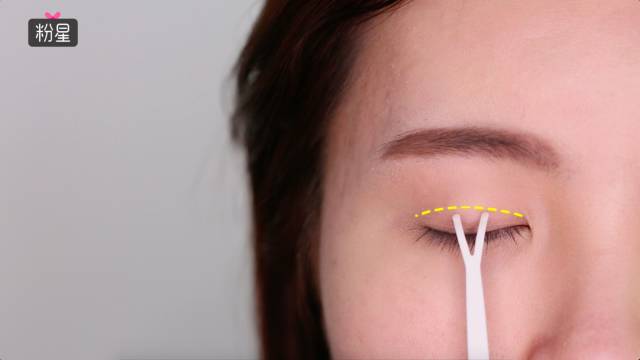
睜開眼,調整位置。要耐心多找幾次哦~
拿開叉子,這個位置就是比較合適的位置了。
貼上雙眼皮貼,調整位置。
用圓頭撫平,保證沒有翹起。
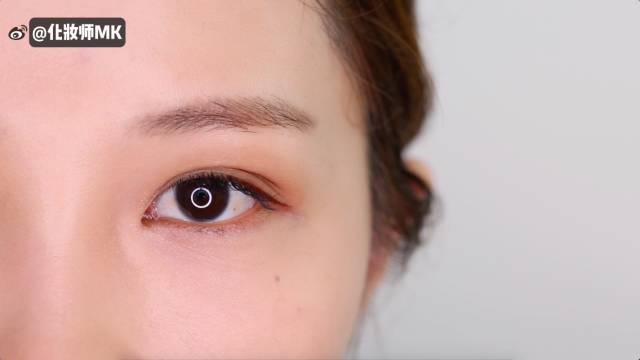
睜開眼對比下,wow,還是蠻明顯又自然的~
上大地色眼影。隱形效果真的很好。
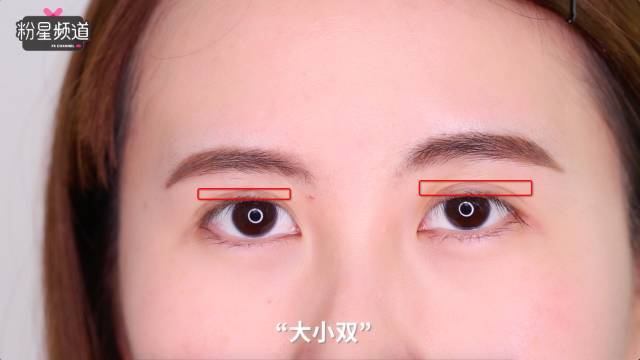
眼影: 大小外雙
模特Tony是外雙眼,但是是一高一低的大小雙,相信不少妹紙都有這個問題吧,可以借助雙眼皮貼把小的那個貼成大的。
用小叉子,對比大雙那邊找出合適的位置。
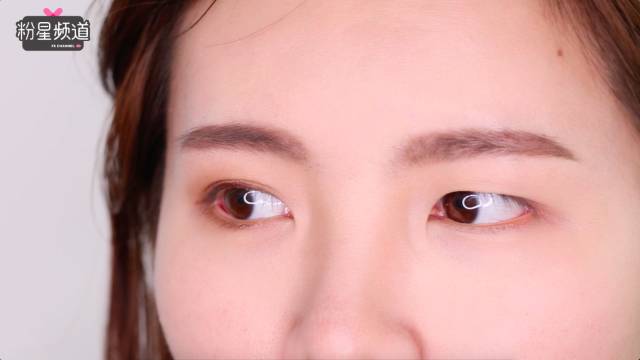
睜開眼確認位置。
位置ok的話,就用雙眼皮貼貼在剛才找出的位置上。
睜眼看看,左邊眼睛變成跟右邊差不多寬度的外雙了~

用大地色上在眼皮上,會更隱形哦~

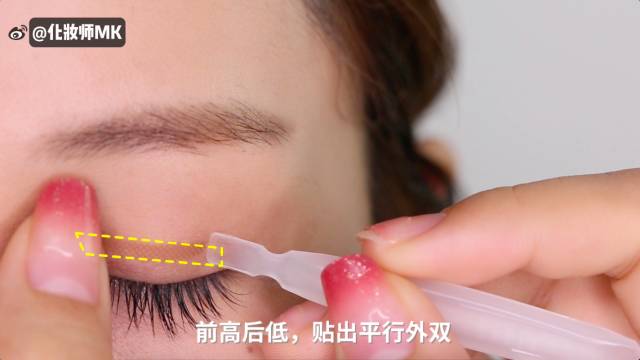
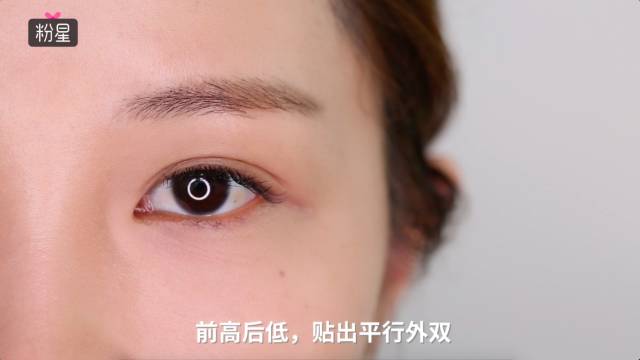
追求歐式外雙或者平行外雙的妹紙,貼時注意前高後滴,可以貼出大外雙眼頭哦~
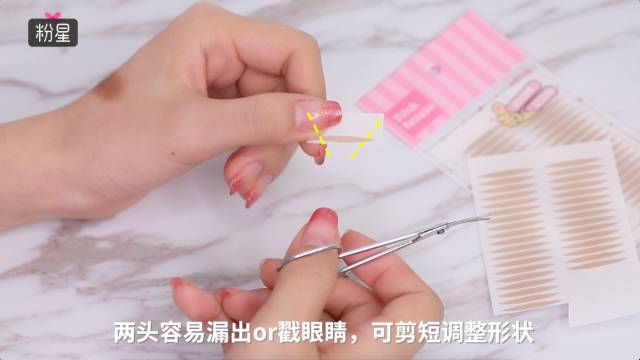
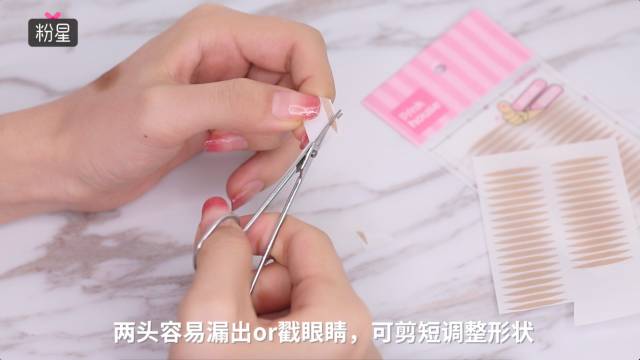
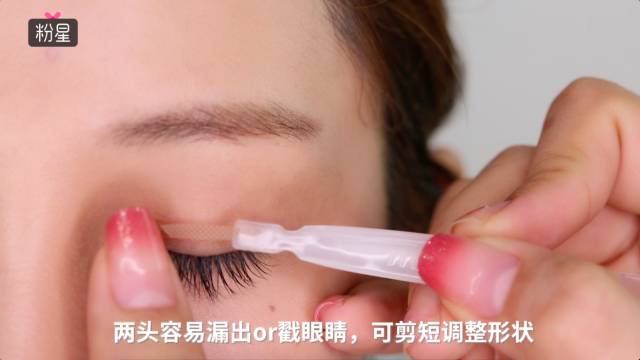
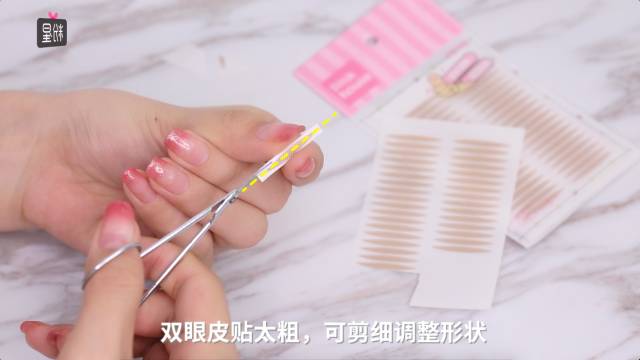
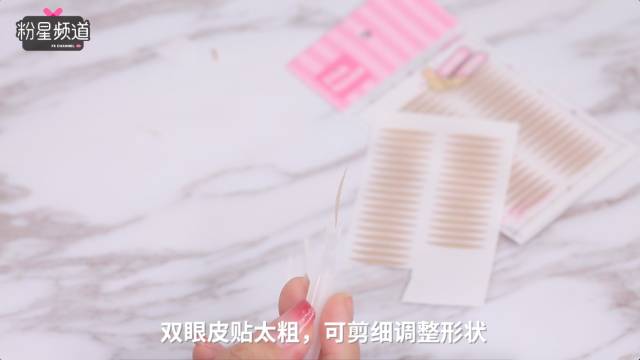
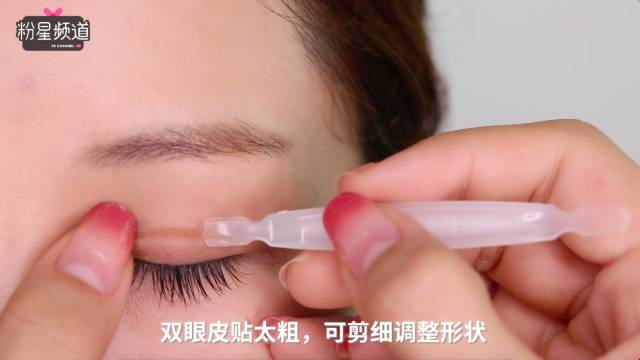
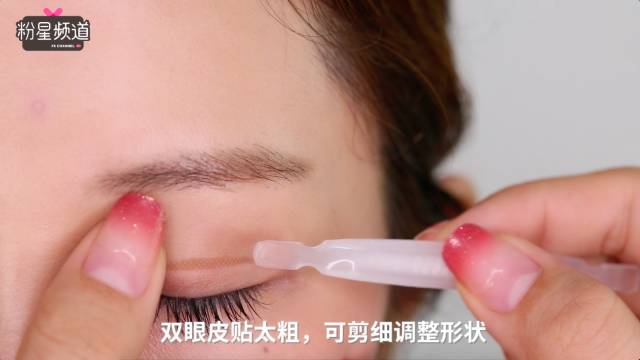
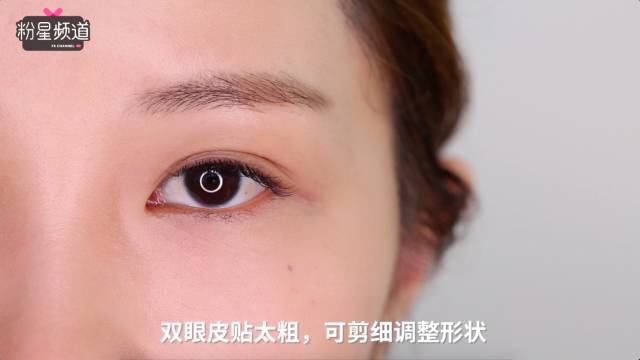
有些妹紙覺得雙眼皮貼比較戳眼睛,或者貼完容易漏出的話,把兩頭按照個人需求修剪短就可以了。【PS:修剪時,直接把底片也剪下來修剪好,才不會破壞粘度和形狀哦~
有些眼皮比較薄和少的妹紙,貼上時雙眼皮貼中部容易漏出的話,可以修剪細再貼。隱形效果超好。
①雙眼皮貼不夠厚,兩片疊加 的貼法;
②貼雙眼皮前最好先把眼皮多餘油脂去掉 ,保證粘度;
③卸除雙眼皮時,一定要仔細輕輕撕下 ,必要時可以用卸妝液協助。不能隨便豪邁地一撕,雖然拉扯眼皮是一定會導致眼皮松弛的,但我們也要注意減緩拉扯的力度,把傷害減到最低。
原创文章,作者:admin,如若转载,请注明出处:https://szjm666.com/shenghuo/5381/